We've been creating production parts and prototypes in our 3D Systems ProX SLS 6100 machine for a while now, servicing clients in the aerospace, medical, and other industries.
Along the way we've learnt a lot, identified a few common misconceptions, and uncovered some little tricks that we thought you would like to know. So, please read on for "Six things you need to know about SLS printing".
5 Mar 2021 -
3D Printing_
Projects
No Support Structures
One of the most recognised benefits of SLS printing is that no 'scaffolding' structures are required to support the parts, unlike other additive processes such as DLP or SLA. Being a powder-based process, the parts are essentially cradled as they are built up in 0.1mm layers. This also enables SLS to be one of the few 3D printing technologies that can create pre-assembled moving components within a part.
Individual parts only need 2-3 mm of separation to avoid being fused together in the laser sintering process. We can get creative with how we prepare an SLS build. Parts are stacked, nested, rotated and flipped to fit many parts in and around each other. Even though it looks messy, the resulting cluster is a marvel of software programming. We watch out for inadvertently nesting parts inside the cavities of larger parts – they just don't come out!
Programmed SLS build
Cooling Time
Ever wondered why your SLS part has been 'built', but we haven't sent it out yet?
When an SLS build is completed and removed from our ProX SLS 6100 machine, the temperature of the processed powder is sitting at a scalding 210 degrees Celsius. Before removing the parts, the build must be allowed to cool slowly for an extended time, not only for health and safety reasons, but also because the heated parts may warp and deform when cooled too rapidly.
So bearing in mind the additional time for cool down, clean up, post-processing and dispatch, lead time expectations should be adjusted to 3 working days as an absolute minimum for SLS parts.
Parts breakout of an SLS build
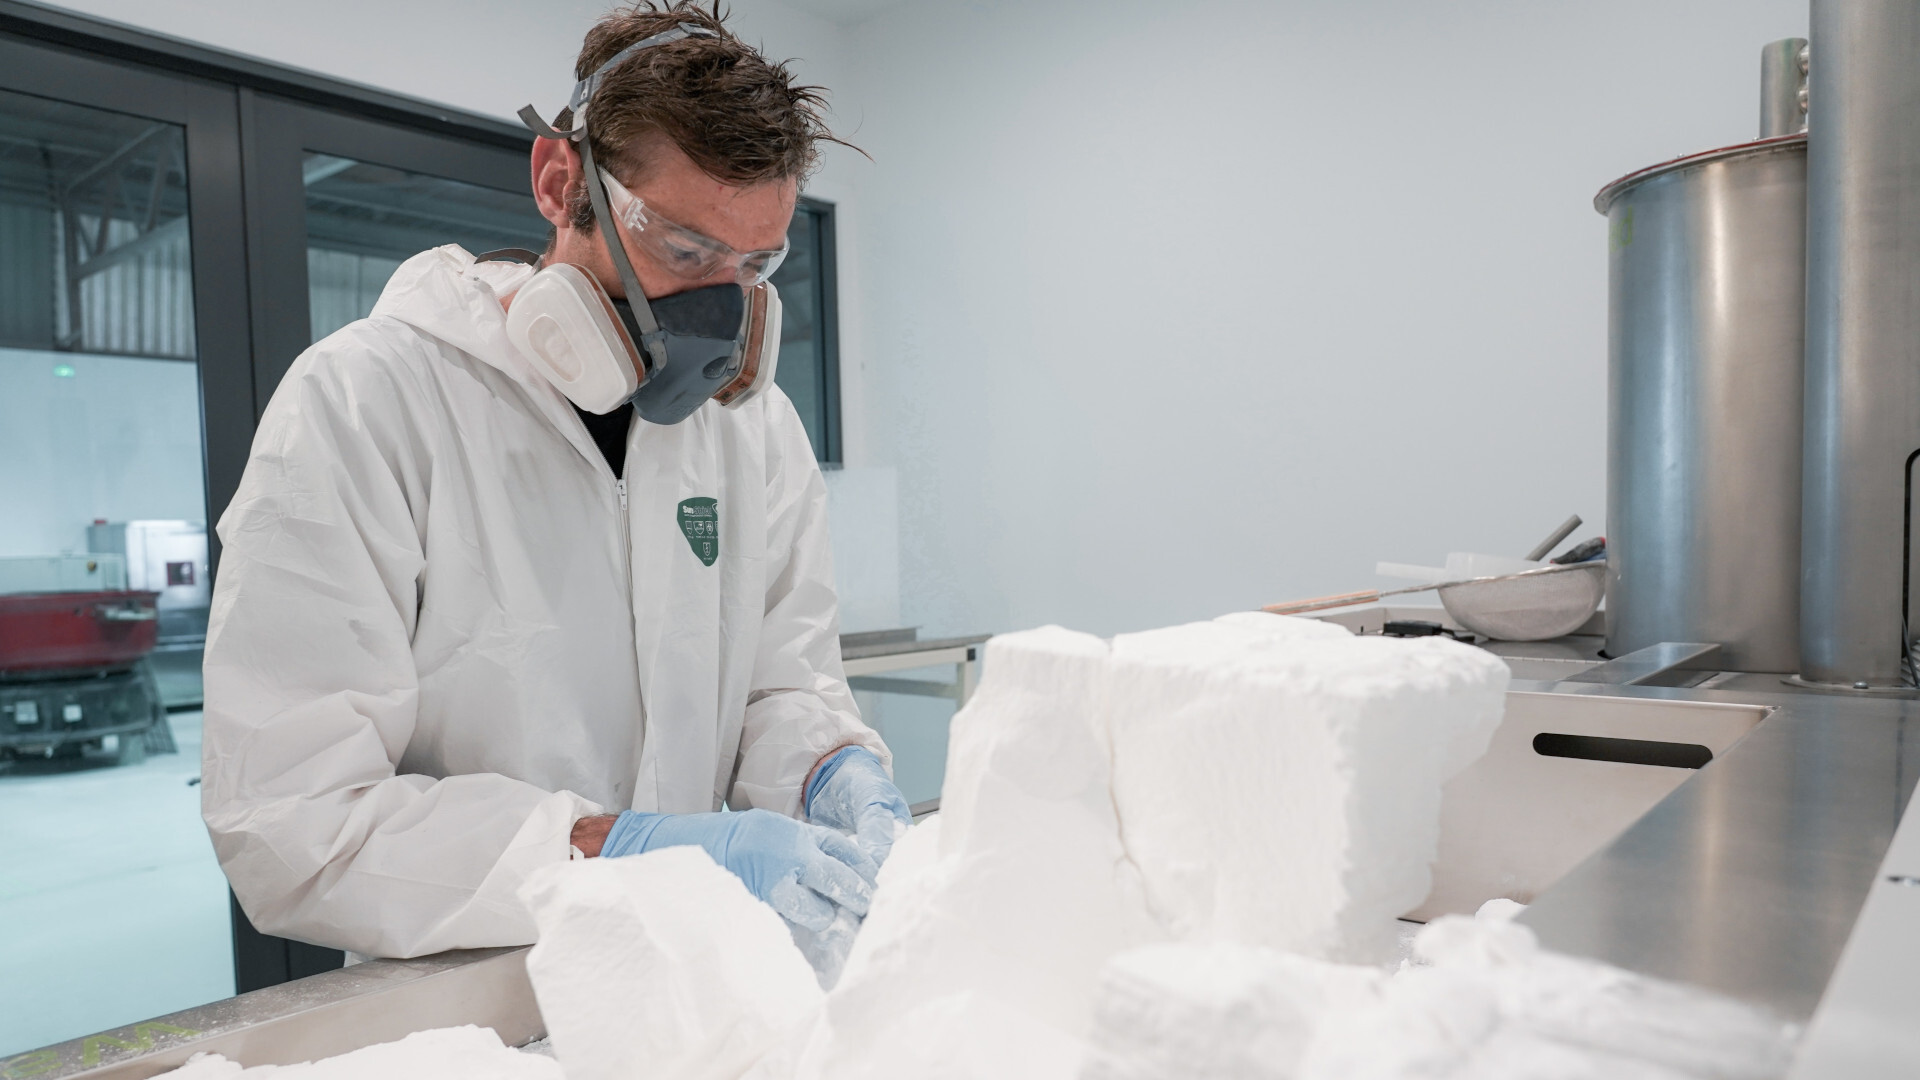
Powder Removal
Like SLA, after a 3D print is completed, all unused build material must be removed from inside hollow sections or enclosed cavities. We typically use compressed air to remove powder from a part, but this can't happen if there are no escape holes in the design.
A minimum of one 10mm hole or two 5mm holes are required to remove powder adequately - the more, the better.
Blasting excess powder off a part
Vapour Smoothing
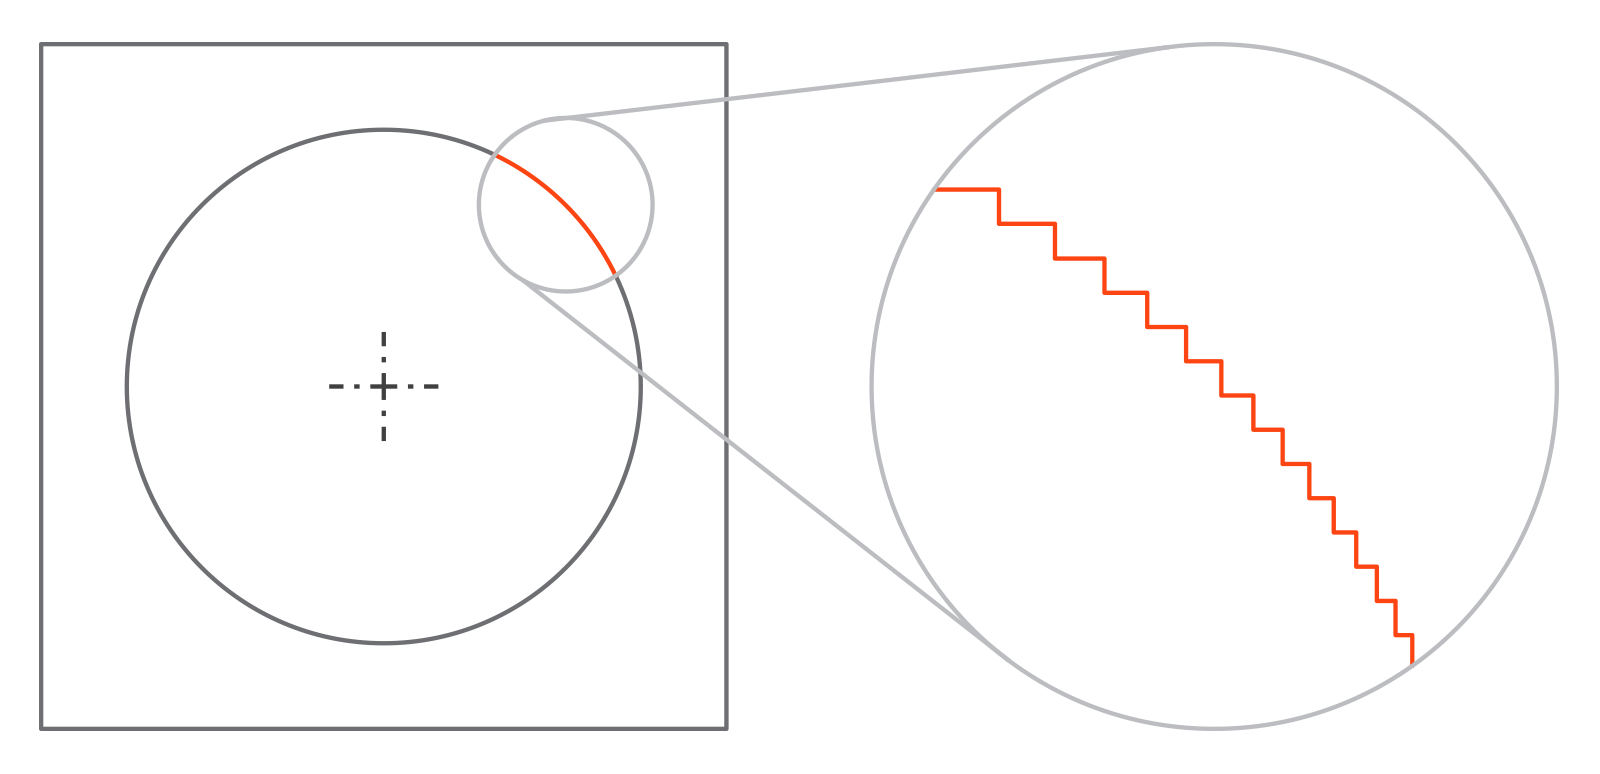
As already mentioned, SLS builds operate by sintering progressive layers of the parts. Although no support structures are required, this layer-by-layer operation affects how parts are built. For surface angles less than 45 degrees, the 0.1mm layer steps are just visible. For angles less than 30 degrees, layer steps become very noticeable. A part with layer steps parallel to the direction of force is at greater risk of snapping or separating between layer steps.
We have recently introduced a new post-process called Vapour Smoothing. This fully automated process can smooth and seal the surface of 3D printed polymer parts. By doing away with the stepping effect, SLS parts can now have an injection moulded look and feel on all surfaces, without losing any mechanical properties.
Illustration of stepping layers in SLS build
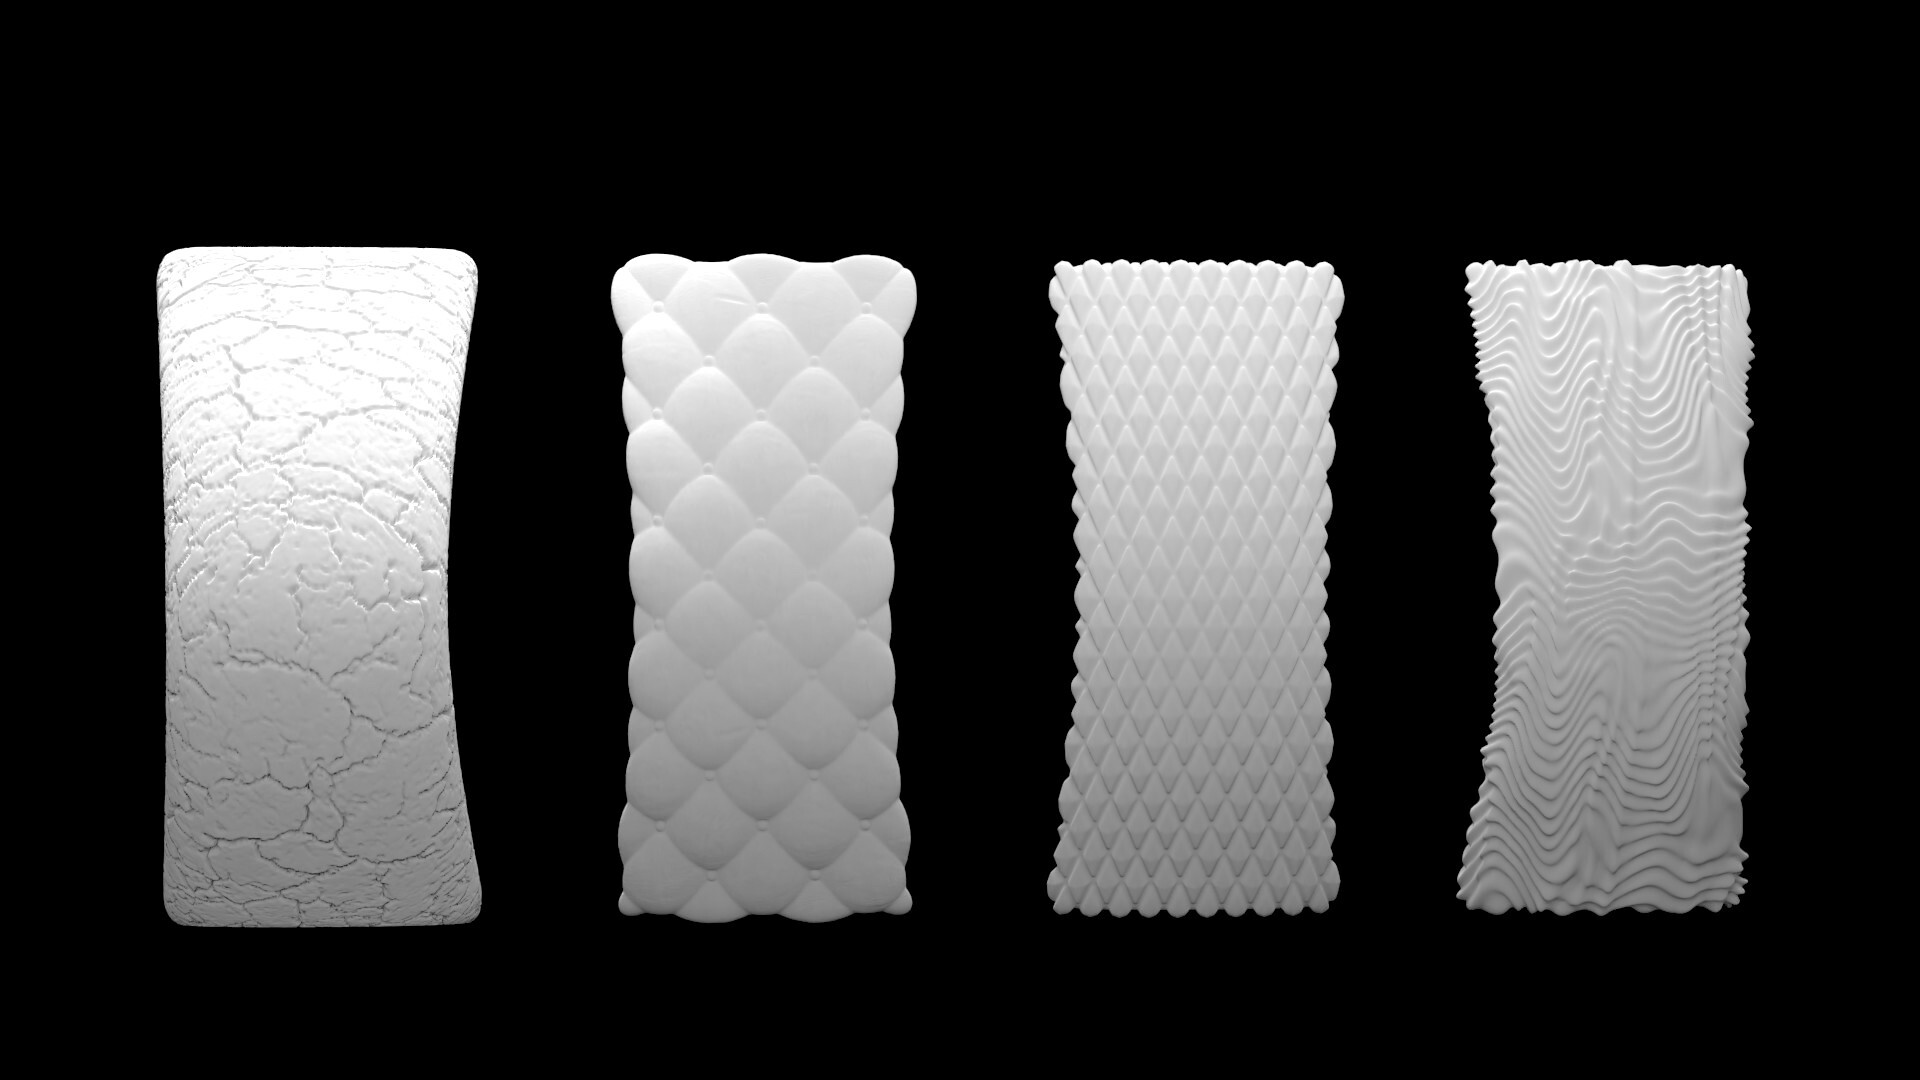
Texturing
Another way to combat the 'stepping effect' in SLS parts is to create a surface texture on the part. The layer stepping can be visually broken up and avoided by digitally adding a surface pattern to the CAD model.
Examples of basic SLS surface textures
Colour Dying
Due to the nature of the build material, SLS parts traditionally have a clean or off-white colour. In the past, this has limited the customisation and applications of the process.
Fi Innovations has formulated a dying process that can give SLS parts a range of simple colours upon request - including primary colours and monotone shades. It's worth noting that this process is enhanced when parts have been vapour smoothed.


 Services Overview